
The best way to keep a piece of meat or poultry tender and juicy is to brine or marinate the meat before cooking it. Adding liquids to the cut of meat will ensure that the meat does not dry out and that you will not have to eat flavorless, dry, or rubbery meat! Also, preserving or pickling your surplus vegetables in brine makes their shelf life longer and keeps them fresh and tasty for eating later.
Table salt should not be used for the brining method. The best salt to use for brine is coarse salt. This is our recommended list of the top five salts to use for making brine:
- Morton kosher salt
- Diamond Crystal kosher salt
- Light grey Celtic sea salt
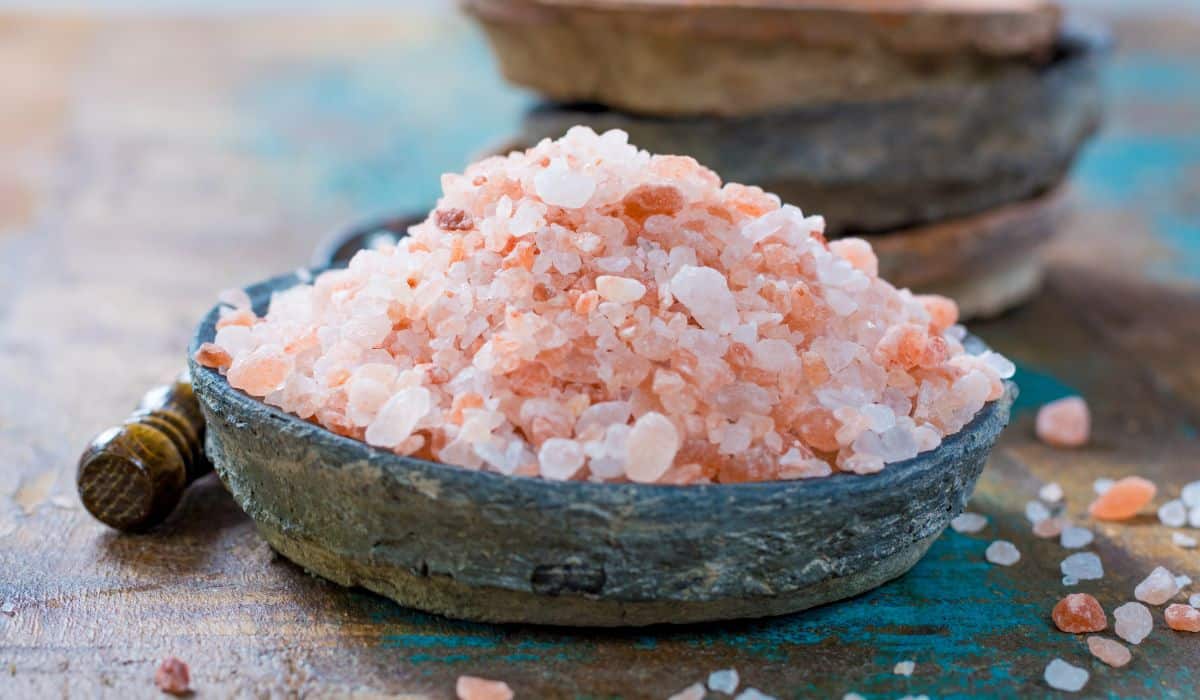
- Sherpa pink authentic Himalayan salt
- Pickling salt
Certain leaner types of meats don’t contain much fat or marbling to protect them, so they can overcook and burn very quickly, like:
- pork
- poultry
- shrimp
Adding moisture and different flavors to the meat adds a beautiful tenderness and a very different taste to your usual homemade meat dish. Many vegetables are pickled using a brine solution of:
- salt
- water
- various spices to add to the taste
Why Do We Use Salt For Brining Meat And Poultry?
A traditional brining method used to preserve and flavor of food uses:
- salt
- water
- an acid such as vinegar
Salt and water are the two main ingredients used for brining:
- meat
- poultry
- seafood
In contrast, salt and acid are the two main ingredients used when marinating meat.
Brining not only retains moisture in the meat but also adds moisture to the meat, resulting in a very juicy cut! Generally, unsalted meat will lose about 20% of its moisture during the cooking process. However, this amount reduces by half when adding salt to the meat.
Thicker, fattier cuts of meat don’t need to be placed into a brine solution before cooking, but they could be marinaded to add flavor, for example:
- beef
- lamb
- pork shoulder
- chicken thighs
Leaner cuts of raw meat like chicken breasts and pork chops would benefit from being placed in a brine solution to add tenderness and moisture to the meat.
NOTE: Read my article about if you can brine different meats together to learn everything you need to know about meat brining!

Why Do We Use Salt For Brining Or Pickling Vegetables?
A classic brine mixture of salt and water can be used to preserve any vegetables and fruit. Therefore, the term “pickling†refers to any vegetables or fruit preserved using the brine solution and not just flavored by using a marinade before cooking.
Onions and cucumbers are ideal vegetables for the brining method. They are generally submerged in brine with an acid, usually vinegar, added to the solution. The vinegar contributes to the flavor of the vegetables without causing the food to ferment and prevents bacteria from growing on and destroying the food.
Fermented vegetables such as sauerkraut and olives do not have an acid added to the brine mixture. Salt in the solution encourages good bacteria to flourish and prevents harmful bacteria from causing the food to go bad. Fermenting and preserving is a great way to use up surplus vegetables.
5 Best And Worst Salts For Making Brine
Salt matters when it comes to brining meat. A great brine recipe involves a solution that correctly balances the ratio of water to salt. When choosing salt for your brining solution, it really is the size that matters! Coarse salt is the best salt to use for your brining solution.
Salt comes in different crystal sizes. The larger the salt crystal, the quicker it will dissolve in the water and the slower it will dissolve on the surface of the meat. The smaller the salt crystal, the heavier it is by volume. One cup of common table salt can weigh twice as much as kosher salt.
The trick to using salt in a brine solution is to weigh the salt instead of measuring it by volume as coarse salts and brands differ in their saltiness. For example, one tablespoon of common table salt is much saltier than one tablespoon of Kosher salt.
Here Are Our Recommended Top 5 Salts For Making Brine
The only salt which should never be used to make a brine solution is common table salt, as the salt particles are tiny, resulting in a heavier salt that will not adhere to the meat!

#1: Morton Kosher Salt
Kosher salt is pure salt that has no iodine or additives. Using kosher salt in a brine solution is the best option for at-home chefs. Morton Kosher salt (Amazon link), is made by rolling salt in rollers, and flattening the salt granules into large thin flakes. This means that you only need to use half the amount of salt in a brine solution as you would using other kosher salt brands.
Pros of Using Morton Kosher Salt for Brine:
- A coarse salt with smaller particles than other brands.
- Larger flakes, perfect for use in brine, either wet or dry.
- Dissolves quickly in water.
- A very potent salty flavor.
- Contains an anti-caking agent, perfect for brining.
Cons of using Morton kosher salt for Brine:
- Not suitable for use as table salt or when baking.
#2: Diamond Crystal Kosher Salt
This product is very different from Morton kosher salt as the production method is different. Diamond Crystal kosher salt, is created using an evaporation process that stacks upside-down pyramid-shaped crystals over each other. The end result is a salt grain that is:
- hollow
- light
- pyramid-shaped
Diamond Crystal kosher salt has less salt content per teaspoon than Morton kosher salt
HOT TIP: When using a brine recipe with standard kosher salt measurements, reduce the salt if you use Diamond Crystal salt by 1/3.
Pros of Using Diamond Crystal Kosher Salt for Brine:
- Precise and consistent texture.
- Large crystals prevent over-salting.
- Available in a 3lb container.
Cons of Using Diamond Crystal Kosher Salt for Brine:
- Must be measured by volume, not weight, to avoid under-salting.
#3: Light Grey Celtic Sea Salt
This is a grey-colored salt that gets its color from the pure clay lining of the salt beds that it is harvested from. Hand-harvested from natural pools in France, Light Grey Celtic sea salt is:
- course
- whole crystal
- moist
- mineral-rich
- unrefined
Pros of Using Grey Celtic Sea Salt for Brine:
- Kosher certified, NON-GMO verified, organic compliant certified.
- Available in 1lb and 5lb resealable bags.
- The fantastic salty flavor is great for use in brine.
Cons of Using Grey Celtic Sea Salt for Brine:
- Salt is naturally damp due to being harvested from natural pools of grey clay. This is not a problem when being used in brine and should add to the saltiness.
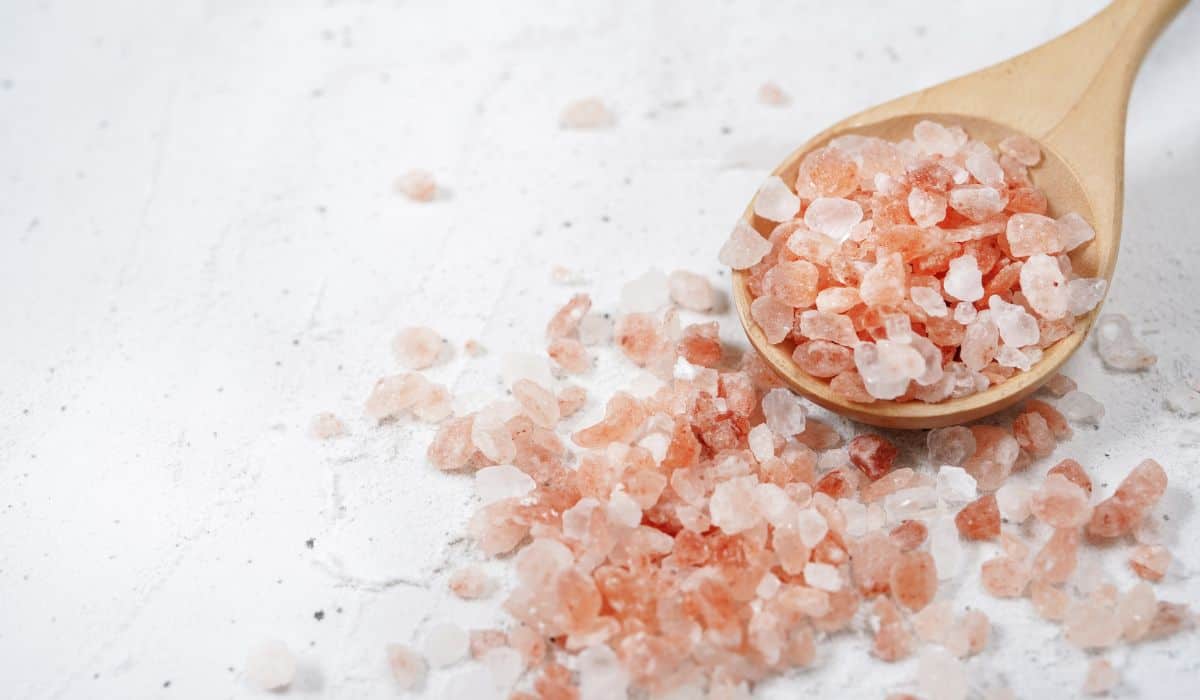
#4: Sherpa Pink Authentic Himalayan Salt
Sherpa Pink Himalayan salt, (Amazon link), is the purest and most beautiful rock salt in the world. Unlike most salts, its colors range from pink to light red due to the salt’s unique mineral composition. In addition, each salt crystal forms perfect geometric patterns.
Pros of Using Sherpa Pink Authentic Himalayan Salt for Brine:
- The highest quality salt on earth.
- Kosher certified.
- NON- GMO verified, contains no MSG, soy, gluten, or dairy.
- Organic compliant certified.
- Contains no iodine or anti-caking agents.
- Packed with essential trace minerals like iron, copper, potassium, magnesium, and calcium.
- Available in 2lb resealable bags.
Cons of Using Sherpa Pink Authentic Himalayan Salt for Brine:
- Despite the producers’ best efforts, this product can contain rocks and sand particles. This will not infiltrate your meat, so it is safe to use in any brine solution.
#5: Pickling Salt
Pickling salt is a pure granulated salt, often used for canning and preserving. This type of granular salt does not contain iodine or anti-caking agents. The fine salt granules are easily dissolved in the brine solution and don’t turn the liquid cloudy.
Pickling salt, sold on Amazon, is harvested directly from salt mines or the seabed. No additional ingredients are added to pickling salt, making this a fresh, healthy salt.
If you run out of pickling salt, it can be made at home by grinding kosher salt crystals in a spice grinder or blender, both sold on Amazon. Make sure that the salt is ground finely so that it can dissolve in the brine.
Kosher salt is heavier than pickling salt, so adjust the weight per volume when using pickling salt. 1 ½ cups of kosher salt equals 1 cup of pickling salt.
Pros of Using Pickling Salt:
- Can be used in place of standard table salt, but beware of caking.
- Almost identical to kosher and sea salts.
- Additive-free.
- Particularly good for use as a brine solution when pickling vegetables and fruit.
Cons of Using Pickling Salt:
- The only substitute for pickling salt is kosher salt. If you do run out of pickling salt, you can’t use any standard salt, so you will have to buy another product for pickling adding further expense to the process.
What is A Dry Brine?
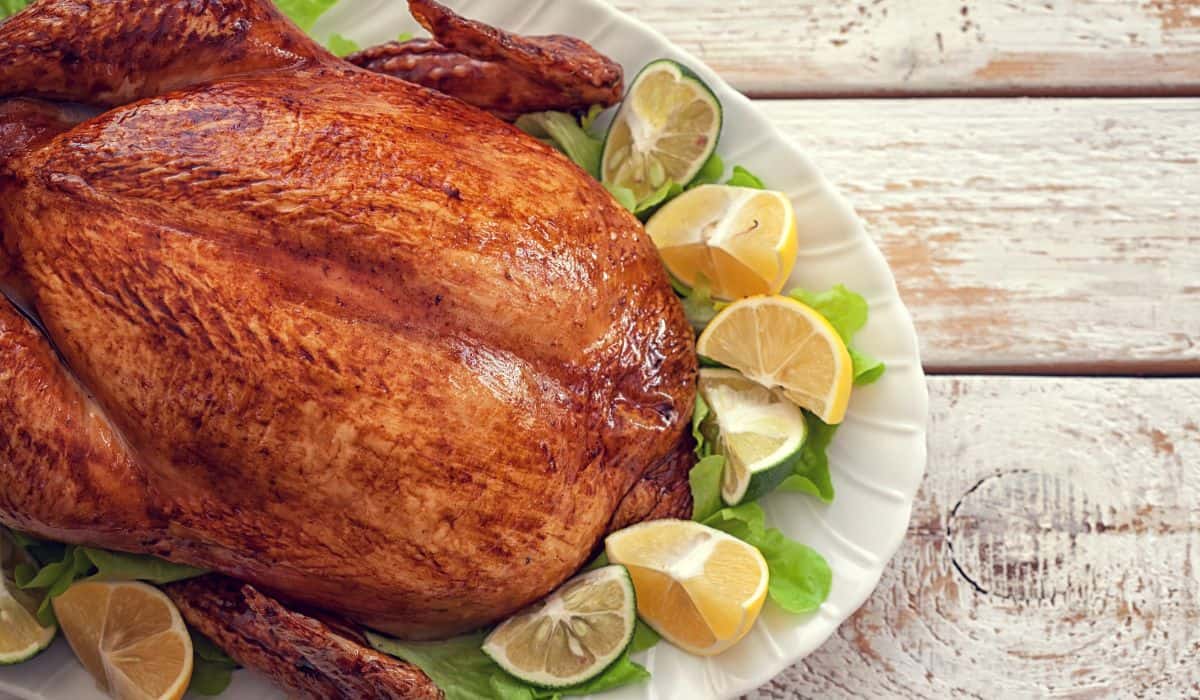
Salt is an essential ingredient when using either the dry or wet brining method. Dry brines do not use any water. For the dry brining process, you rub pure salt into the meat or poultry. No excess moisture is added as this could dilute the meat’s natural flavors. Instead, the salt infuses with the meat juices creating concentrated flavors.
The dry brining method is often used on poultry, especially Thanksgiving turkeys! While rubbing the salt into the skin of the bird, you can rub in additional herbs to create your own unique flavor. Using a dry brine retains the meat’s natural moisture without giving you watered-down meat.
Dry brining is excellent for most leaner cuts of meat. In addition, the dry brining process is faster, leaving you with moist and flavorful meat.
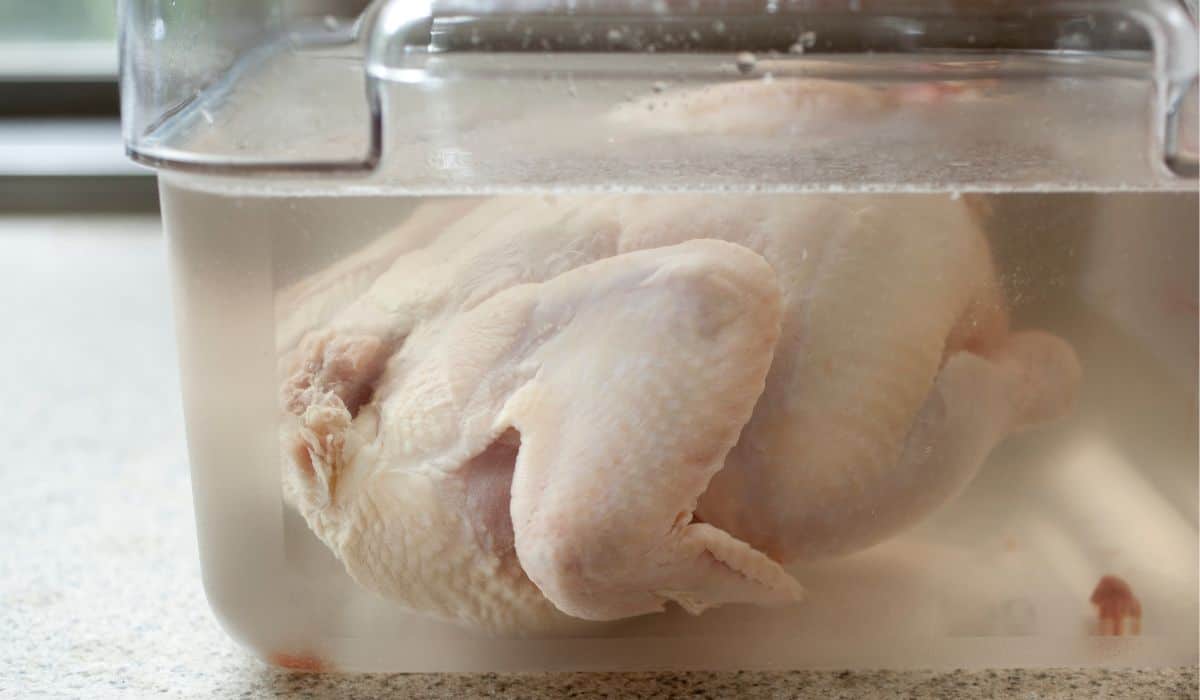
What Is A Wet Brine?
The wet brining method uses water and salt to cure or preserve food. Submerging meat in the salt and water solution changes the structure of the cells by trapping the liquid inside the cells and creating a juicier piece of meat.
Adding salt to the brine causes the cells to retain more moisture and prevents the liquids from evaporating during the cooking process. Ribs and briskets are ideal for the wet brining method but don’t brine pre-salted or pre-seasoned meat as they already have plenty of salt and flavor.
NOTE: A wet brining solution is used to pickle and preserve vegetables and fruit.
How Long Should I Brine Meat?
As a brining solution is so very salty, it works very quickly. Of course, it is possible to over-brine your meat, but this can generally be fixed by soaking the meat in clean cold water to draw out the excess salt. Check the container often, though, as you don’t want mushy meat!
Generally, wet brining involves placing the meat into a large enough container to hold the piece of meat and the brine solution. The container is then placed into the fridge to soak, so make sure that you have enough space!
Dry brining takes up less space in the refrigerator as the meat is rubbed down first with the salt and placed into a smaller container. The container can be smaller as it does not need to hold liquid.
Here is a guide stating the brining times for different cuts of meat. The general rule is to brine meat for about one hour per pound of meat.
| Meat | Brining Times |
|---|---|
| Whole fish | 1 to 3 hours |
| Whole chicken | 4 to 12 hours |
| Whole turkey | 12 to 24 hours |
| Whole pork loin | 2 to 12 hours |
HOT TIP: Be sure the water is cold when the meat goes into the brine, and always leave the brine in the refrigerator!
What Happens If I Use Too Much Salt In The Brine?
Too much salt in the brine will result in an overpowering salty taste in your food. Unfortunately, brining does not work without the added salt, so always follow the recipe as a guide to the amount of salt to use.
Less is more when it comes to adding salt to the brine solution. Of course, you can always add more salt to the solution according to your tastes, but if the solution is too salty, add more water to it and reduce the brining time.
Other Brining Ideas
After the meat has been through the brining process, the salt which has been absorbed into the meat will naturally flavor the meat resulting in balanced levels between the meat and the liquid.
Try some of these in the brine solution to add to the flavor of your meat and vegetables. Adding flavorings to the brine will season the outside of the meat and add to the juiciness but will not penetrate the meat.
- Sugar, brown sugar, or molasses add sweetness to the meat while promoting browning. Adds a great flavor to grilled pork chops.
- Adding a tablespoon of alcohol like vodka, or ¼ cup of rum or gin, allows the brine flavor to penetrate deeper into the meat.
- Add fresh herbs, citrus peels, or lemon zest to spice up the flavor. A great idea is to heat the brine, add soy or Worcestershire sauce to the solution, and then allow the brine solution to cool down before adding the meat. Finally, add onions and garlic to the cooled-down mixture to add flavor.
- Try using apple juice or chicken broth instead of water as a base liquid in the brine. Leftover pickle juice can also be used. Dilute with a bit of water and reduce the brining time to prevent the meat from becoming mushy.
How To Store Homemade Brine
Once you have created an exceptional brine and it’s ready for use, place it into a:
- stainless-steel bowl
- plastic container
- resealable bag
If you heated the brine to dissolve any sugar or salt, let it cool down completely before storing it in a container.
Any unused brine which remains and has not been poured over your meat or vegetables can be stored indefinitely in the refrigerator. Brine made purely with salt and water can be stored for a long time, but it will only last for two weeks if you have added herbs or garlic.
If you only brew the correct amount of brine solution needed to cover the meat or vegetables on today’s menu, don’t reuse it. Any brine that has already been used should be tossed immediately after use.
How To Brine Meat
This is a quick recipe on the basics of brining meat using salt and water:
What do I need to make brine?
- A container like this from Amazon, that is large enough for the meat which you are brining.
- A measuring jug (I really love this one on Amazon) and clean fresh water.
- Kosher salt.
- Additional flavorings.
How do I brine the meat?
- Place the meat, still wrapped, into the brining container and cover with water. The meat should be completely submerged.
- Remove the wrapped meat and add 1 -3 cups of water to the container to fill it up.
- Measure the salt. Use one tablespoon of salt per one cup of water. Leave aside.
- Prepare the additional flavorings and set them aside.
- Dissolve the salt in hot water.
- Add the salt and flavorings to the container of water.
- Allow the water to cool down.
- Add the meat and push down until wholly submerged.
- Seal the container with the mixture inside and place it into the refrigerator.
- Wait for the correct brining time.
- Take the meat out of the brine and rinse under cold water to remove the salt and seasonings before cooking.
- Pat and dry the meat with a paper towel and cook as desired.
Conclusion
Brining is a great way to prepare your meat and vegetables! How much salt and flavorings to add all comes down to personal choice after the recipe has been followed, and that is the beauty of the brining process!
There are formulas available to give you the stats on how much salt should be added to achieve the end result, but, at the end of the day, it’s all about your choice!
Any food without salt added to it is just not worth eating, it makes most food taste better and creates new and wonderful tastes when mixed into other flavorings!
You might also be interested in:

Recent Posts
If you are trying to heal your gut naturally, fermented foods might be the answer. There is a diverse range of fermented foods available out there and you might be wondering which fermented food will...
Kimchi is the national food of South Korea. Almost every household in Korea has this spicy fermented vegetable dish stored in their kitchens. It is becoming popular in the West and is now available...